



A DIY Guide: Grout Cleaning Secrets For Spotless Tiles
Despite regular cleaning and abrasive scrubbing, the grout lines between your tiles may appear dull, dingy, and discoloured. The dirt, soap residue, grime, and bacteria tend to build up over time and can be difficult to remove, even with strong chemicals or harsh tools. If you scrub at greasy grout with frustration, you could end up damaging it. That’s why households find grout cleaning one of the most dreadful chores.
However, the good news is that you can easily tackle grime and gunk between tiles using the right approach. The process is inexpensive and doesn’t require fancy cleaning products. With natural cleaning supplies, the right techniques and proper tools, you can renew your tiles like a pro. So, here in this guide, we’ll break down some of the best grout cleaning secrets to combat grease, grime and mould in the most efficient manner. These tricks are tried and tested by a budget bond cleaners Sunshine Coast because proper cleaning makes a difference, saving you time and energy.
Let’s Get Started!
1. What is a Grout?
Grout between your bathroom or kitchen tiles is a dense paste made up of sand, cement, water and sometimes colour pigments used to fill gaps between tiles and seal joints. In simple terms, grout serves as a sealant between two tiles, providing durability and longevity. They come in different types, including:
- Sanded: These are made up of cement and used to fill large spaces between tiles. These are perfect for high traffic floors like hallways and entryways
- Non Sanded Grouts: These are made up of cement and have a smooth surface. Non sanded grouts are used to fill small gaps and are ideal for bathroom walls.
- Epoxy Grouts: These are more water resistant than cement grouts. They are sturdier and can survive harsh environments.
Note: Due to their porous nature, the gaps between tiles quickly attract dirt, grime, and moisture. Therefore, it is essential to regularly clean your grout lines with safe, effective products.
2. Baking Soda and Vinegar for Mild Grout Staining
Instead of using store bought cleaners, use all natural cleaning products to banish stubborn stains from grout. Prepare a thick paste of baking soda and warm water, then apply it to dull, dingy grout lines with an old toothbrush. Let it sit for a few minutes and spray distilled white vinegar. This will create a fizz. Next, gently scrub the area with a soft bristled brush to achieve spotless results. Do it in circular motion to prevent damage.
Make sure you rinse thoroughly with a damp cloth and dry the surface to prevent moisture buildup. This method can effectively remove soap scum, grime and gunk from tiles and grout lines.
3. Magic Eraser and Dish Soap Can Do Wonders
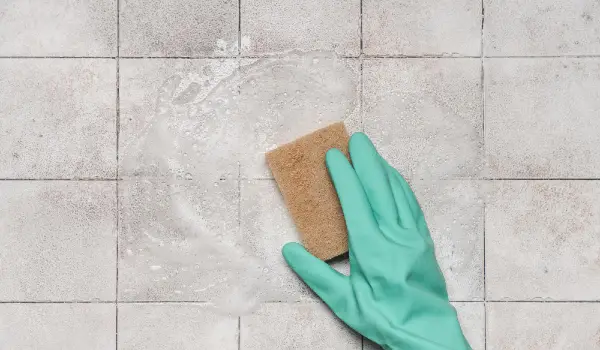
Believe it or not! A mild dishwashing soap and warm water can do wonders in dislodging dirt and grime from grout lines. For best results, scrub the area with a damp Magic Eraser. The dual can help remove buildup gunk, grease and soap residue without causing any damage to the surface.
All you need to do is spray dish soap onto the area, dampen a Magic Eraser with water, and scrub in a circular motion until the stains are removed. Make sure you wipe the area with a clean cloth to save time and energy. However, if you are at the end of your tenancy, book experts for a budget bond cleaning Sunshine Coast and secure your hard earned bond money.
4. Use Hydrogen Peroxide to Combat Mould
Bathroom grout is prone to moisture build up, causing mould and mildew infestation. Fortunately, you can easily renew your grout tiles using hydrogen peroxide. You just need to follow these simple steps:
- Apply 3% hydrogen peroxide paste on tile grout.
- Leave it for 10 minutes. It will break down mould spores and black stains.
- Scrub in a circular motion with a sponge or an old toothbrush
- Rinse and dry the area.
Tip: Open doors and windows for proper ventilation. Also, wear gloves when using hydrogen peroxide to prevent skin irritation.
5. Steam Cleaning For Stubborn Grout Stains
If you want to save your time and energy while cleaning grout lines, use a steam cleaner. The steam can break down stubborn stains, gunk, grime and grease from the surface without causing any damage.
Make sure you sweep and wipe down the surface to remove loose dust and debris. When preparing a steam cleaner, follow the instructions to prevent damage. This method can transform dull and dingy tile grout into a spotless beauty, especially when preparing for the final rental inspection.
6. How to Seal the Grout Lines Naturally
Once you’ve cleaned the tile grout, let it dry completely. Next, apply a natural sealant, such as a beeswax and mineral oil solution, using a small brush. Make sure you coat the grout evenly and wipe off excess product. Now, let it cure properly to protect against stains, moisture buildup and dirt. This will renew your grout lines without using expensive products.
For thorough bond cleaning on the Sunshine Coast, book an experienced company that offers quality service with full rental bond. This will give you peace of mind when it comes to securing hard earned bond money.
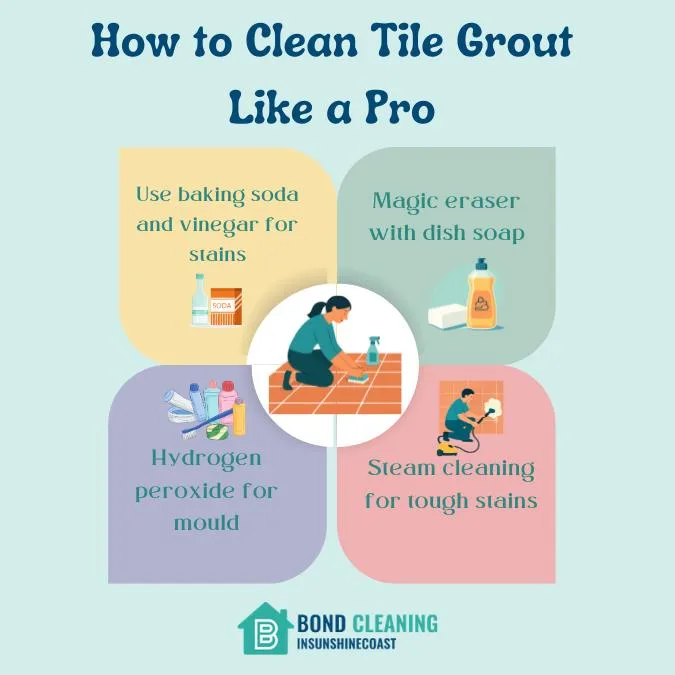
Infographic: How to Clean Tile Grout Like a Pro
Wrapping Up
Clean and shiny grout lines can enhance the overall look and feel of your walls and floors. By following these simple cleaning tips and tricks, you can do wonders and achieve spotless tile grout using all natural cleaning products. Happy Cleaning!